 Close
Close

How to install Nvivo 20
This guide explains how to download and install Nvivo 20
This guide is aimed at...
- IT Administrators
- Staff
- SLMS staff
- Students
Before you start...
The following needs to be downloaded from UCL Software Database.
- the Nvivo enterprise license key
- Read and understood the UCL Information security policy in particular the UCL Computing Regulations (Acceptable Use Policy)
Instructions
- How to create a myNvivo account
- How to log in to myNvivo and register Nvivo enterprise license key
- How to download and install Nvivo 20 windows
How to create a myNvivo account
1. Go to myNvivo Portal and click sign up
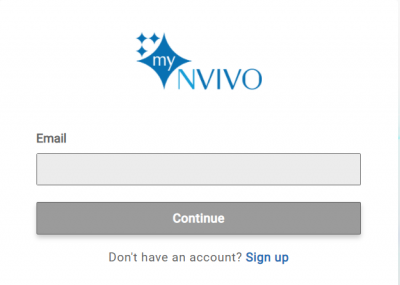
Fig 1 - myNvivo Sign up
2. Create an account using your @ucl email address
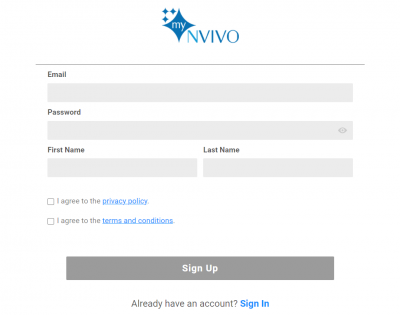
Fig 2 - myNvivo create account
3. A verification email will be sent from Team NVivo (noreply@mynvivo.com)
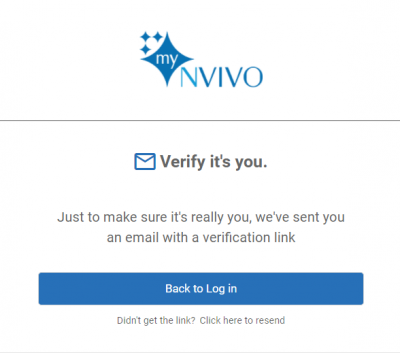
Fig 3 - myNvivo verification needed
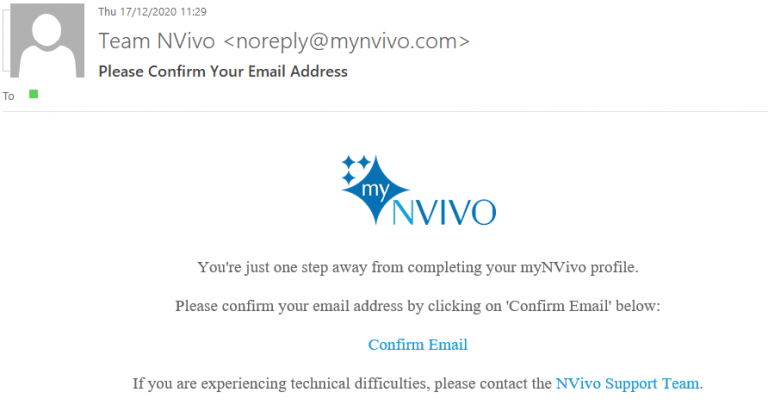
Fig 4 - Team Nvivo email verification
4. Click Confirm Email to verify your account
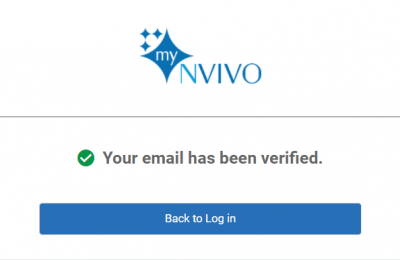
Fig 5 - myNvivo email has been verified
5. Click Back to Log in
How to log in to myNvivo and register Nvivo enterprise license key
6. Go to myNvivo Portal and log in with a @ucl email address

Fig 6 - myNvivo Log in
7. Enter the Nvivo Enterprise License Key stated on UCL Software Database
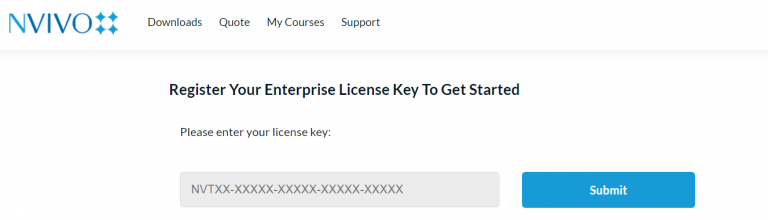
Fig 7 - Enter Nvivo Enterprise License Key
8. A download button will appear in myNvivo
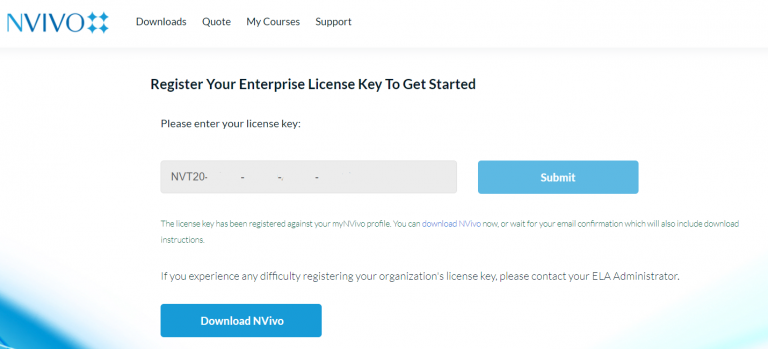
Fig 8 - myNvivo download button
9. An email will also be sent from Team Nvivo (noreply@mynvivo.com) including download links and installation information
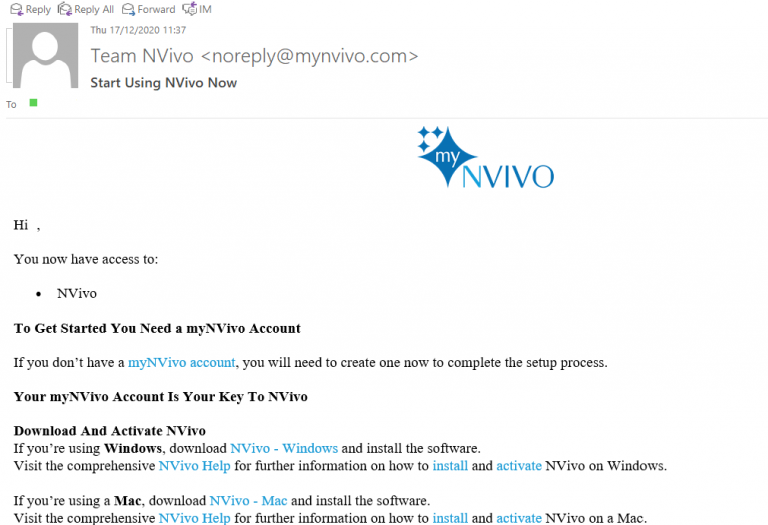
Fig 9 - Start using Nnivo now email
How to download and install Nvivo 20 windows
10. In myNvivo Portal, go to Downloads and download Nvivo - Windows
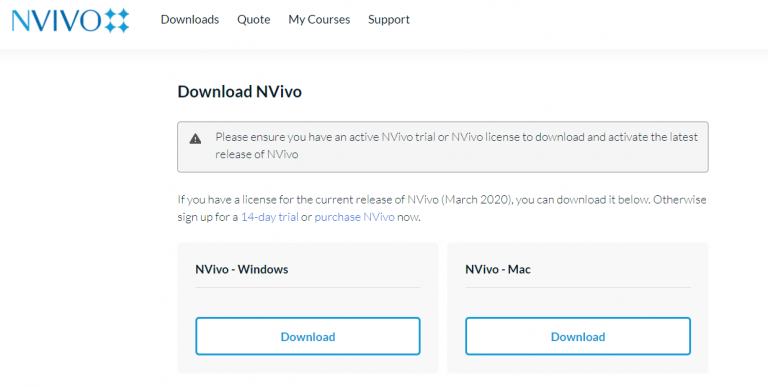
Fig 10 - myNivo download Nvivo Windows
11. Once downloaded double click on the NVivo.x64.exe
Fig 11 - NVivo.x64.exe
12.The NVivo installer window will pop up, click OK
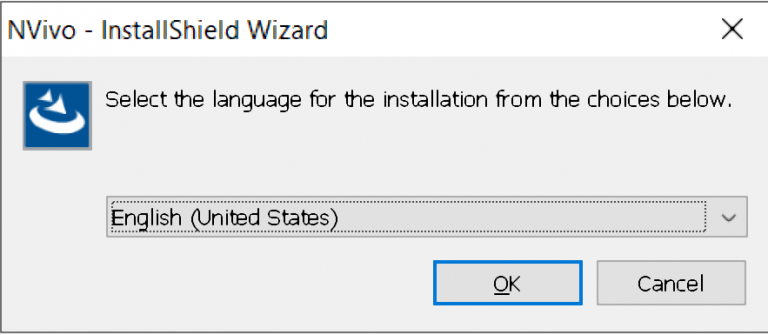
Fig 12 - NVivo installer window
13.If required, install requirements
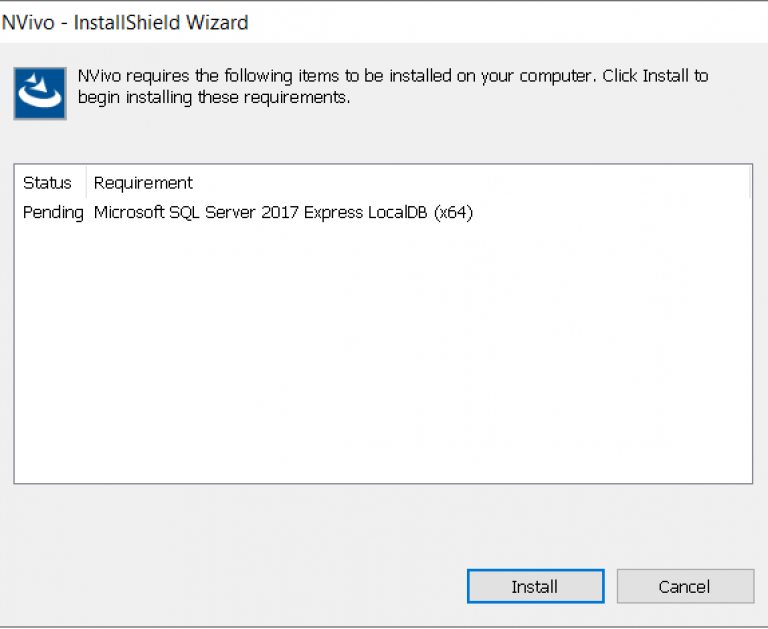
Fig 13 - Install requirements
14. Click Next to start the installation process
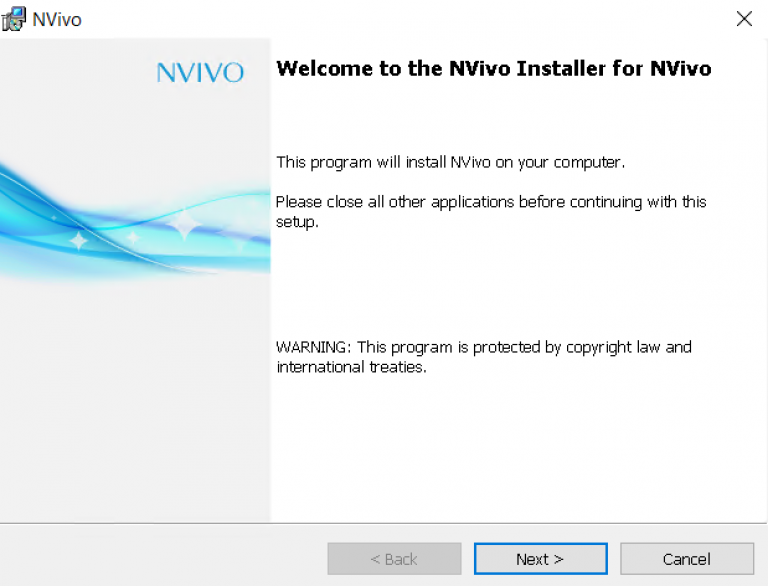
Fig 14 - Welcome to Nvivo installer
15. Accept EULA
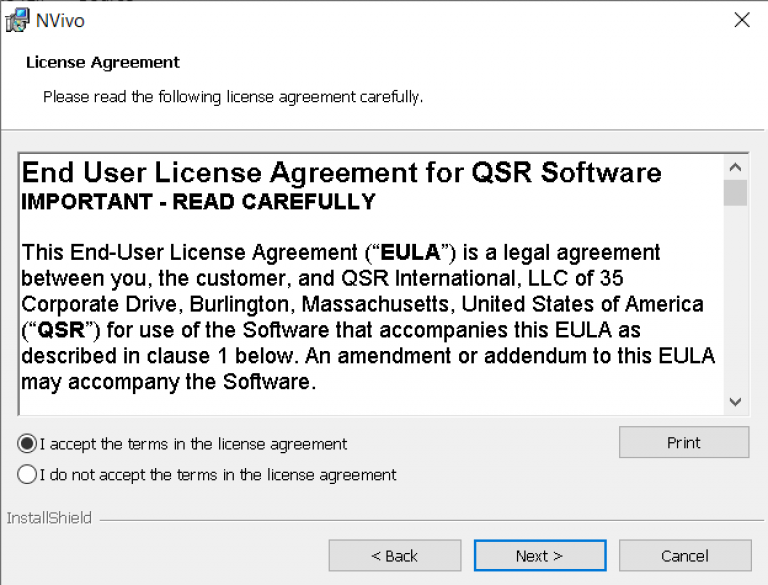
Fig 15 - Accept EULA
16. Select install location
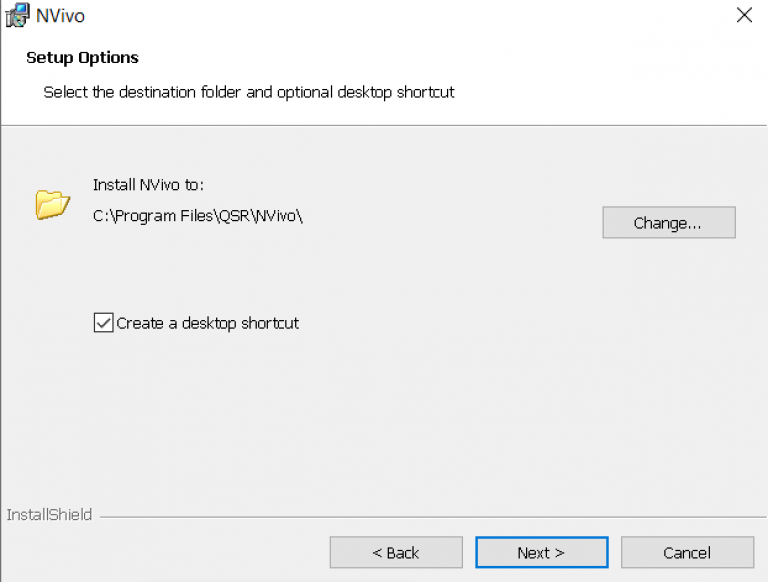
Fig 16 - Select install location
17. Select addons
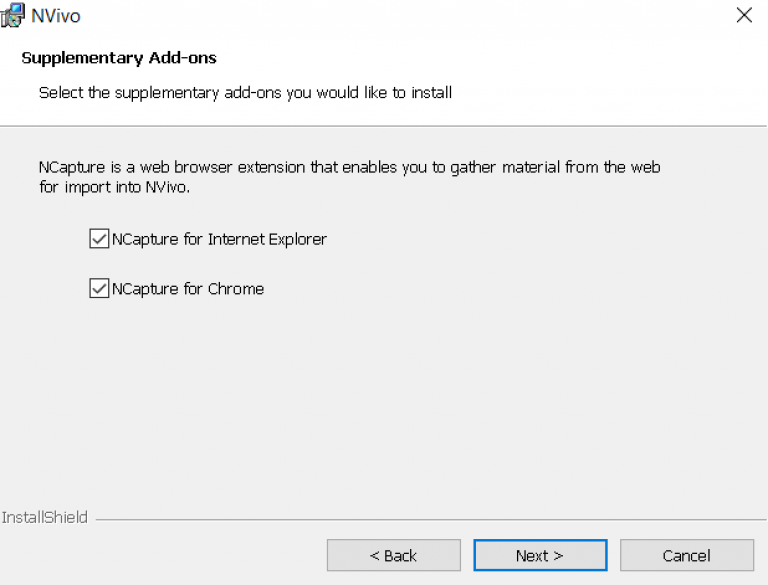
Fig 17 - Select addons
18. Click Install
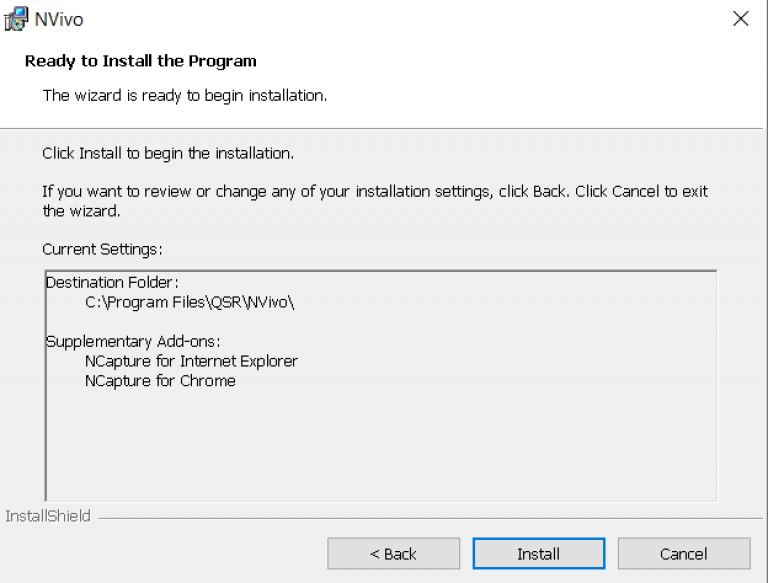
Fig 18 - Click Install
19. Finish
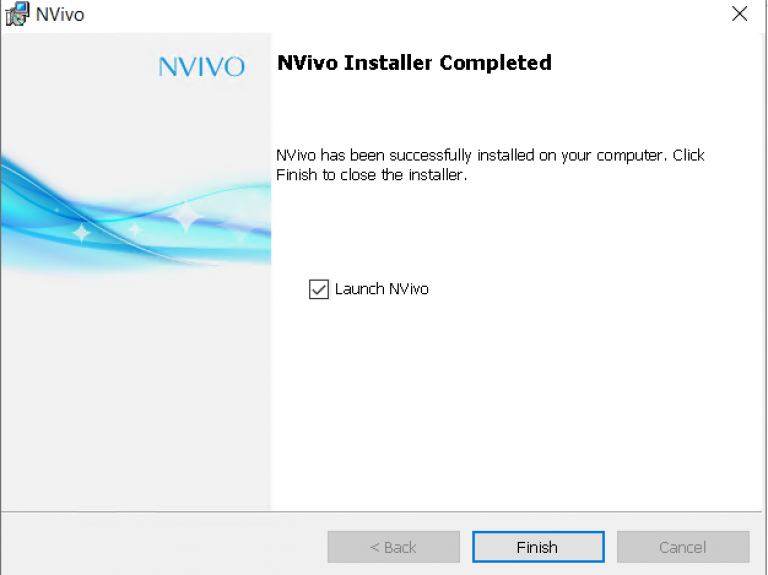
Fig 19 - Finish
Related guides & other info
- Searching for details of software package or application
- Downloading software
- Installing software you have downloaded
Help & Support
For further help and assistance you will need to contact the IT Services.
Feedback
We are continually improving our website. Please provide any feedback using the feedback form.
Please note: This form is only to provide feedback. If you require IT support please contact the IT Services Help desk. We can only respond to UCL email addresses.