 Close
Close

Guided marking – why do it and what to do
12 November 2018
Dr Jenny Griffiths on an effective way to help your students understand what is expected of them in their assignment and to understand how their work will be assessed
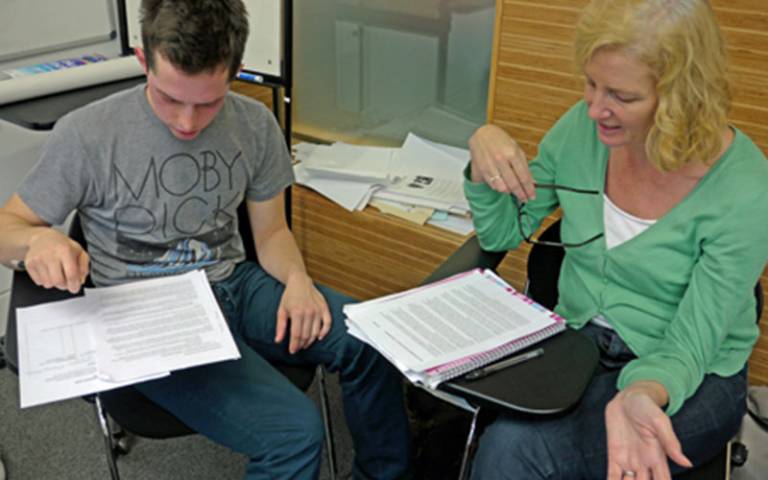
What is guided marking?
In guided marking you take your students through a previous assignment similar to those they will be doing as part of their programme, explaining how you marked it.
Why do it?
- Set standards - it’s a great way to make clear the standard of work that you expect from students.
- Build a common vocabulary - it familiarises students with the words we use in marking criteria, so that students from diverse backgrounds can develop an understanding of the vocabulary they will encounter.
- Align expectations - many students new to UCL will be used to getting marks in higher ranges than those commonly used at UCL for high standards of work. Guided marking helps them to recalibrate to our mark scale; 70% is the borderline for a first class honours degree, or a distinction at Masters level at UCL, but this is commonly perceived as a poor mark by high achievers when they look back at their pre-UCL education.
Six key steps to guided marking
In theory, this can all be done in Moodle, but face-to-face discussions with the class will result in better engagement with your marking criteria.
| Key step | Should this be face-to-face or on Moodle? | |
|---|---|---|
| 1. | Choose an assignment from a previous year group that is similar in format and standard to those you expect your new cohort to do. Choose previous student submissions that show a range of marks (3 is great: satisfactory, good and excellent). | |
| 2. | Ask the owners of these assignments if you can use them. Anonymise the assignments. | |
| 3. | Hand them out to your students, along with the marking criteria, explaining the purpose of the exercise. | Can be done through Moodle – you’ll need to write a good explanation of what you want the students to do – or in class. Leave 10 minutes to explain why you’re doing guided marking, what the benefits are for the students, and exactly what you want them to do. Can be done in class if assignments are short, or as homework. |
| 4. | Ask them to mark the assignments in accordance with the given criteria, and give some feedback on the assignments. | Can be done through Moodle – you’ll need to write a good explanation of what you want the students to do – or in class. Leave 10 minutes to explain why you’re doing guided marking, what the benefits are for the students, and exactly what you want them to do. Can be done in class if assignments are short, or as homework. |
| 5. | Get your students to share their rankings, justifications and feedback. There might be some surprises here. Most classes are able to rank assignments correctly, but the range of marks individuals use will vary substantially. | Can be done in class if assignments are short, or as homework. Can be done on Moodle, but you will get far more interaction if you can take time to share justifications in class. You know your students best – leave between 5 and 15 minutes per assignment. |
| 6. | Then share your ‘real’ marking. Explain how you marked the work. This is your opportunity to clarify your standards and criteria with the students. | Should be done face-to-face to allow students to clarify your criteria and ask more general questions. Again, this depends on the length and complexity of the assignment. |
What can I do to develop this further?
Ask students to peer review each other’s assignments and give formative feedback.
It’s very likely that friendship groups are doing this already, so you’re just formalising this process and ensuring that all students are included.
Ask students self-assess their own assignments, and ask for feedback on areas that they think are weak after using the marking criteria.
Carry out this exercise with new staff members or PGTAs to harmonise your department’s perceptions and standards when marking across modules and programmes.
- Download the UCL Arena’s Quick Guide to Guided Marking, by Dr Teresa McConlogue.